


DIY Cozy Candle Holder Set from Thrifted Glassware
Turn mismatched thrift-store glassware into a cohesive candle holder set with one shared finish, the right candles, and an afternoon of easy work.
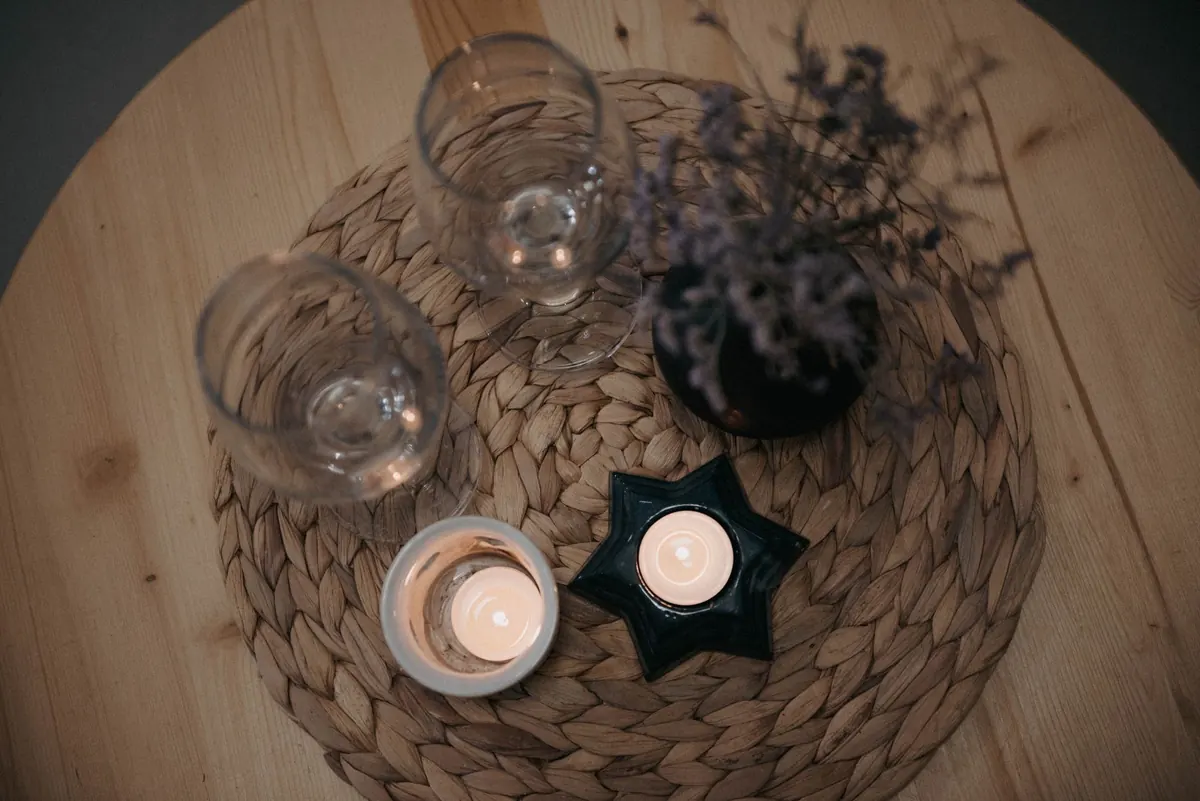
Thrift shelves are full of lonely glass: a cut-crystal tumbler with no mate, a squat amber goblet, a jelly jar someone's grandmother put up preserves in. On their own they read as clutter. Grouped with a little intention, they become a candle holder set that looks collected rather than assembled.
The trick is not finding four identical pieces, which almost never happens. It is giving mismatched glass one shared language: a common color family, a single finish, and a consistent candle size. Here is how to pull that off in an afternoon with supplies you likely already have.
Start With a Short Thrift List
Walk in knowing what you are hunting for, or you will come home with six unrelated glasses and no plan. The pieces do not need to match, but they do need to work together.
- Vary the heights. Aim for roughly a three-inch piece, a five-to-six-inch piece, and one tall vase around eight to ten inches. A staircase of heights looks intentional; four pieces of the same size look like a hotel lobby.
- Choose thick walls and a heavy base. Delicate, paper-thin glass and open flames are a poor pair. Weight also keeps a candle holder from tipping when someone brushes past it.
- Favor a wide mouth. You have to reach in with a candle and a lighter. A bud vase that pinches narrow below the rim is a candle holder you will fight with every evening.
- Stay inside one color story. All clear, or all in the amber, smoke, and olive family, or all milk glass. Two finishes is the limit; three starts to look like a yard sale.
- Skip damage. Run a fingernail around the rim and check for chips, hairline cracks, and wobbly glued-on bases. Heat and compromised glass do not belong together.
Pick One Unifying Finish
This is the step that turns a collection into a set. Choose a single treatment and apply it to every piece, including the ones that look fine as they are. Frosted glass, a metallic dip along the bottom third, or a slim painted band just below the rim all work. Choose one and commit.
For a frosted set
Mask the rim with painter's tape, then mist on a glass frosting spray in several light passes rather than one heavy coat, which will run. Etching cream gives a more permanent, slightly deeper frost, but it is caustic, so wear gloves and keep it off your skin and eyes. Work outdoors or in a well-ventilated space, and let the pieces cure for the full time on the label before a flame goes anywhere near them.
For a metallic accent
Tape off a stripe or the lower third of each glass, spray in thin coats, and pull the tape while the paint is still tacky so the edges stay crisp. Spray paint belongs on the outside only, and well away from the rim where heat collects. Finish with a satin clear sealer so the surface does not scuff when you move the pieces around.
What You Will Need
- Three to five thrifted glasses or small vases
- Warm soapy water and rubbing alcohol
- Painter's tape
- Frosting spray, etching cream, or metallic spray paint
- Satin clear sealer
- Tea lights, votives, or short pillars sized to fit your glass
- Coarse salt or fine sand for raising undersized candles
- Felt or cork sheet for base pads
Clean, Prep, Then Make the Set
- Wash every piece in warm soapy water, dry it, then wipe the outside with rubbing alcohol. Any trace of grease and your finish will crawl and flake within weeks.
- Line the pieces up on the counter in the order you plan to display them, tallest at the back, shortest at the front. Adjust the order before you paint, not after.
- Apply your chosen treatment to all of them, one at a time.
- Let everything cure completely, often a full day. Rushing this step is the most common reason a homemade finish fails.
- Cut felt or cork discs to fit each base and glue them on. This protects furniture and keeps the set quiet when you rearrange it.
- Fit the candles. A tea light rattling around the bottom of a wide tumbler looks lost, so add about half an inch of coarse salt or sand and nestle it on top. Votives should sit snug; if a candle tips when you nudge it, it is the wrong size. Trim every wick to about a quarter inch.
- Do a test burn. Light the whole set on a heatproof surface and watch it for twenty minutes. If a piece gets uncomfortably hot to the touch anywhere near the flame, retire that one and use a battery-operated candle in it instead.
Styling It So It Reads as a Set
Odd numbers look better than even ones here, so three or five pieces is the sweet spot. Set them on a tray, a stack of two books, or a length of linen to anchor the group, and leave a little air between each piece so the glass can catch light individually.
Repeat your unifying color at least three times across the arrangement, then break it once with something that is not glass: a small ceramic dish, a candle snuffer, a dried sprig. Scent matters too. Either keep the whole set unscented or pick one scent, because four different candles burning at once turns into a muddle you will not want in a small room.
Mismatched glass does not need to match. It needs to agree.
A Word on Safety
Never leave burning candles unattended, and keep them clear of curtains, books, pets, and children. Burn only on a heatproof surface, keep the flame below the rim so the glass does not overheat, and never add water to a candle holder to make a candle fit. Glass meant for cold drinks should not go in a microwave or oven. If a piece chips, cracks, or smells scorched, stop using it for flame entirely.
Small Variations for Later
Because the glass is neutral, the candles do the seasonal work. Ivory pillars and a length of twine in autumn, white tea lights in summer, a deeper amber set for winter evenings. If you get bored, you can also flip one piece: tape a stripe on a plain tumbler and add a metallic band to tie it back to the group.
Start With Three
Pick three pieces this weekend and give them one finish, one candle size, and one place to live. If you only find two good candidates, wait — sets grow, and the third piece usually shows up on your next visit. Once you have burned the test set safely a few times and the group still pleases you, you will know exactly what to look for the next time you walk past the glassware shelf.
Photo: Olga Solo / Pexels